Recherche avancée
Médias (1)
-

GetID3 - Bloc informations de fichiers
9 avril 2013, par
Mis à jour : Mai 2013
Langue : français
Type : Image
Autres articles (52)
-
Personnaliser en ajoutant son logo, sa bannière ou son image de fond
5 septembre 2013, parCertains thèmes prennent en compte trois éléments de personnalisation : l’ajout d’un logo ; l’ajout d’une bannière l’ajout d’une image de fond ;
-
Problèmes fréquents
10 mars 2010, parPHP et safe_mode activé
Une des principales sources de problèmes relève de la configuration de PHP et notamment de l’activation du safe_mode
La solution consiterait à soit désactiver le safe_mode soit placer le script dans un répertoire accessible par apache pour le site -
Récupération d’informations sur le site maître à l’installation d’une instance
26 novembre 2010, parUtilité
Sur le site principal, une instance de mutualisation est définie par plusieurs choses : Les données dans la table spip_mutus ; Son logo ; Son auteur principal (id_admin dans la table spip_mutus correspondant à un id_auteur de la table spip_auteurs)qui sera le seul à pouvoir créer définitivement l’instance de mutualisation ;
Il peut donc être tout à fait judicieux de vouloir récupérer certaines de ces informations afin de compléter l’installation d’une instance pour, par exemple : récupérer le (...)
Sur d’autres sites (4707)
-
Adding C64 SID Music
1er novembre 2012, par Multimedia Mike — GeneralI have been working on adding support for SID files — the music format for the Commodore 64 — to the game music website for awhile. I feel a bit out of my element since I’m not that familiar with the C64. But why should I let that slow me down ? Allow me to go through the steps I have previously outlined in order to make this happen.

I need to know what picture should represent the system in the search results page. The foregoing picture should be fine, but I’m getting way ahead of myself.
Phase 1 is finding adequate player software. The most venerable contender in this arena is libsidplay, or so I first thought. It turns out that there’s libsidplay (originally hosted at Geocities, apparently, and no longer on the net) and also libsidplay2. Both are kind of old (libsidplay2 was last updated in 2004). I tried to compile libsidplay2 and the C++ didn’t agree with current version of g++.
However, a recent effort named libsidplayfp is carrying on the SID emulation tradition. It works rather well, notwithstanding the fact that compiling the entire library has a habit of apparently hanging the Linux VM where I develop this stuff.
Phase 2 is to develop a testbench app around the playback library. With the help of the libsidplayfp library maintainers, I accomplished this. The testbench app consistently requires about 15% of a single core of a fairly powerful Core i7. So I look forward to recommendations that I port that playback library to pure JavaScript.
Phase 3 is plug into the web player. I haven’t worked on this yet. I’m confident that this will work since phase 2 worked (plus, I have a plan to combine phases 2 and 3).
One interesting issue that has arisen is that proper operation of libsidplayfp requires that 3 C64 ROM files be present (the, ahem, KERNAL, BASIC interpreter, and character generator). While these are copyrighted ROMs, they are easily obtainable on the internet. The goal of my project is to eliminate as much friction as possible for enjoying these old tunes. To that end, I will just bake the ROM files directly into the player.
Phase 4 is collecting a SID song corpus. This is the simplest part of the whole process thanks to the remarkable curation efforts of the High Voltage SID Collection (HVSC). Anyone can download a giant archive of every known SID file. So that’s a done deal.
Or is it ? One small issue is that I was hoping that the first iteration of my game music website would focus on, well, game music. There is a lot of music in the HVSC that are original compositions or come from demos. The way that the archive is organized makes it difficult to automatically discern whether a particular SID file comes from a game or not.
Phase 5 is munging the metadata. The good news here is that the files have the metadata built in. The not-so-great news is that there isn’t quite as much as I might like. Each file is tagged with title, author, and publisher/copyright. If there is more than one song in a file, they all have the same metadata. Fortunately, if I can import them all into my game music database, there is an opportunity to add a lot more metadata.
Further, there is no play length metadata for these files. This means I will need to set each to a default length like 2 minutes and do something like I did before in order to automatically determine if any songs terminate sooner.
Oddly, the issue I’m most concerned about is character encoding. This is the first project for which I’m making certain that I understand character encoding since I can’t reasonably get away with assuming that everything is ASCII. So far, based on the random sampling of SID files I have checked, there is a good chance of encountering metadata strings with characters that are not in the lower ASCII set. From what I have observed, these characters map to Unicode code points. So I finally get to learn about manipulating strings in such a way that it preserves the character encoding. At the very least, I need Python to rip the strings out of the binary SID files and make sure the Unicode remains intact while being inserted into an SQLite3 database.
-
Adventures In NAS
1er janvier, par Multimedia Mike — GeneralIn my post last year about my out-of-control single-board computer (SBC) collection which included my meager network attached storage (NAS) solution, I noted that :
I find that a lot of my fellow nerds massively overengineer their homelab NAS setups. I’ll explore this in a future post. For my part, people tend to find my homelab NAS solution slightly underengineered.
So here I am, exploring this is a future post. I’ve been in the home NAS game a long time, but have never had very elaborate solutions for such. For my part, I tend to take an obsessively reductionist view of what constitutes a NAS : Any small computer with a pool of storage and a network connection, running the Linux operating system and the Samba file sharing service.

Many home users prefer to buy turnkey boxes, usually that allow you to install hard drives yourself, and then configure the box and its services with a friendly UI. My fellow weird computer nerds often buy cast-off enterprise hardware and set up more resilient, over-engineered solutions, as long as they have strategies to mitigate the noise and dissipate the heat, and don’t mind the electricity bills.
If it works, awesome ! As an old hand at this, I am rather stuck in my ways, however, preferring to do my own stunts, both with the hardware and software solutions.
My History With Home NAS Setups
In 1998, I bought myself a new computer — beige box tower PC, as was the style as the time. This was when normal people only had one computer at most. It ran Windows, but I was curious about this new thing called “Linux” and learned to dual boot that. Later that year, it dawned on me that nothing prevented me from buying a second ugly beige box PC and running Linux exclusively on it. Further, it could be a headless Linux box, connected by ethernet, and I could consolidate files into a single place using this file sharing software named Samba.
I remember it being fairly onerous to get Samba working in those days. And the internet was not quite so helpful in those days. I recall that the thing that blocked me for awhile was needing to know that I had to specify an entry for the Samba server machine in the LMHOSTS (Lanman hosts) file on the Windows 95 machine.
However, after I cracked that code, I have pretty much always had some kind of ad-hoc home NAS setup, often combined with a headless Linux development box.
In the early 2000s, I built a new beige box PC for a file server, with a new hard disk, and a coworker tutored me on setting up a (P)ATA UDMA 133 (or was it 150 ? anyway, it was (P)ATA’s last hurrah before SATA conquered all) expansion card and I remember profiling that the attached hard drive worked at a full 21 MBytes/s reading. It was pretty slick. Except I hadn’t really thought things through. You see, I had a hand-me-down ethernet hub cast-off from my job at the time which I wanted to use. It was a 100 Mbps repeater hub, not a switch, so the catch was that all connected machines had to be capable of 100 Mbps. So, after getting all of my machines (3 at the time) upgraded to support 10/100 ethernet (the old off-brand PowerPC running Linux was the biggest challenge), I profiled transfers and realized that the best this repeater hub could achieve was about 3.6 MBytes/s. For a long time after that, I just assumed that was the upper limit of what a 100 Mbps network could achieve. Obviously, I now know that the upper limit ought to be around 11.2 MBytes/s and if I had gamed out that fact in advance, I would have realized it didn’t make sense to care about super-fast (for the time) disk performance.
At this time, I was doing a lot for development for MPlayer/xine/FFmpeg. I stored all of my multimedia material on this NAS. I remember being confused when I was working with Y4M data, which is raw frames, which is lots of data. xine, which employed a pre-buffering strategy, would play fine for a few seconds and then stutter. Eventually, I reasoned out that the files I was working with had a data rate about twice what my awful repeater hub supported, which is probably the first time I came to really understand and respect streaming speeds and their implications for multimedia playback.
Smaller Solutions
For a period, I didn’t have a NAS. Then I got an Apple AirPort Extreme, which I noticed had a USB port. So I bought a dual drive brick to plug into it and used that for a time. Later (2009), I had this thing called the MSI Wind Nettop which is the only PC I’ve ever seen that can use a CompactFlash (CF) card for a boot drive. So I did just that, and installed a large drive so it could function as a NAS, as well as a headless dev box. I’m still amazed at what a low-power I/O beast this thing is, at least when compared to all the ARM SoCs I have tried in the intervening 1.5 decades. I’ve had spinning hard drives in this thing that could read at 160 MBytes/s (‘dd’ method) and have no trouble saturating the gigabit link at 112 MBytes/s, all with its early Intel Atom CPU.Around 2015, I wanted a more capable headless dev box and discovered Intel’s line of NUCs. I got one of the fat models that can hold a conventional 2.5″ spinning drive in addition to the M.2 SATA SSD and I was off and running. That served me fine for a few years, until I got into the ARM SBC scene. One major limitation here is that 2.5″ drives aren’t available in nearly the capacities that make a NAS solution attractive.
Current Solution
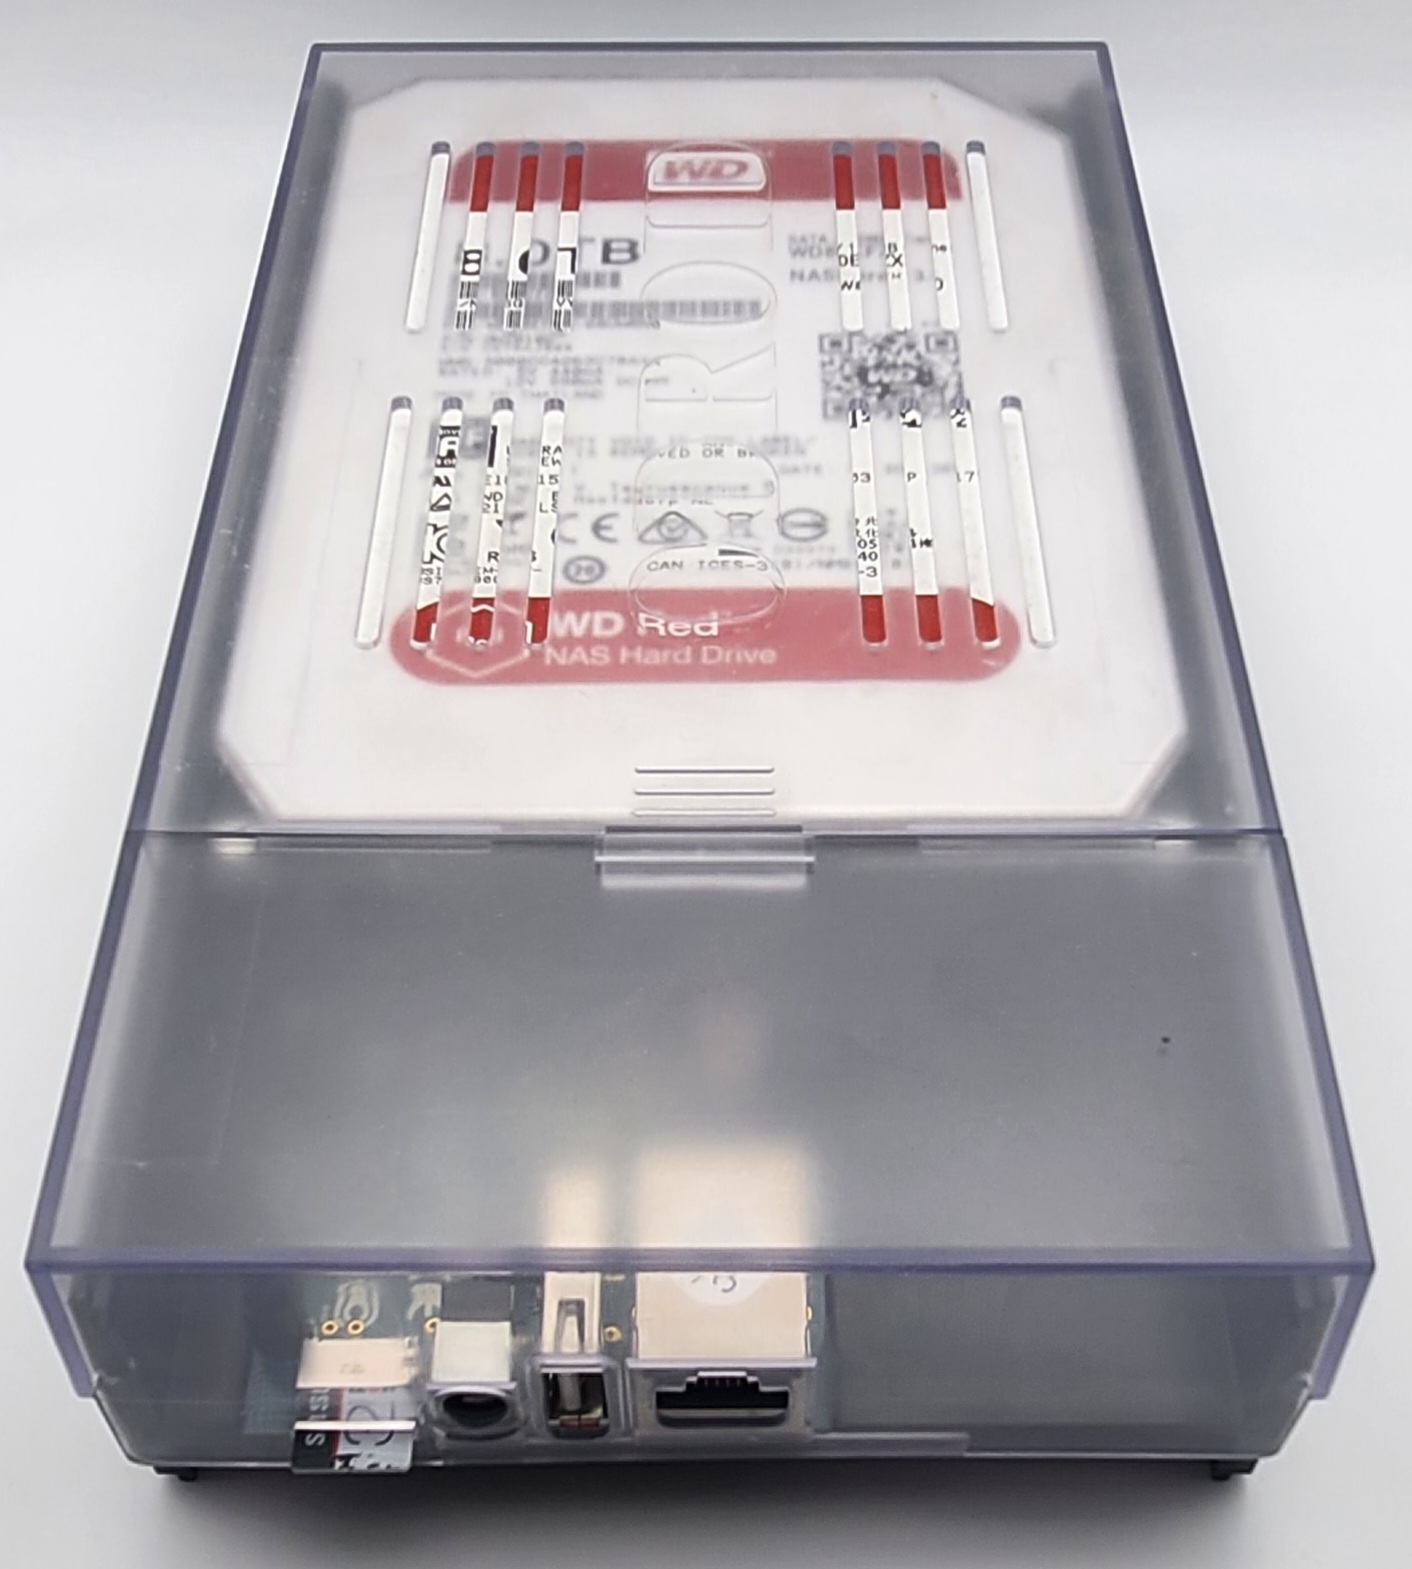
My current NAS solution, chronicled in my last SBC post– the ODroid-HC2, which is a highly compact ARM SoC with an integrated USB3-SATA bridge so that a SATA drive can be connected directly to it :

ODROID-HC2 NAS
I tend to be weirdly proficient at recalling dates, so I’m surprised that I can’t recall when I ordered this and put it into service. But I’m pretty sure it was circa 2018. It’s only equipped with an 8 TB drive now, but I seem to recall that it started out with only a 4 TB drive. I think I upgraded to the 8 TB drive early in the pandemic in 2020, when ISPs were implementing temporary data cap amnesty and I was doing what a r/DataHoarder does.
The HC2 has served me well, even though it has a number of shortcomings for a hardware set chartered for NAS :
- While it has a gigabit ethernet port, it’s documented that it never really exceeds about 70 MBytes/s, due to the SoC’s limitations
- The specific ARM chip (Samsung Exynos 5422 ; more than a decade old as of this writing) lacks cryptography instructions, slowing down encryption if that’s your thing (e.g., LUKS)
- While the SoC supports USB3, that block is tied up for the SATA interface ; the remaining USB port is only capable of USB2 speeds
- 32-bit ARM, which prevented me from running certain bits of software I wanted to try (like Minio)
- Only 1 drive, so no possibility for RAID (again, if that’s your thing)
I also love to brag on the HC2’s power usage : I once profiled the unit for a month using a Kill-A-Watt and under normal usage (with the drive spinning only when in active use). The unit consumed 4.5 kWh… in an entire month.
New Solution
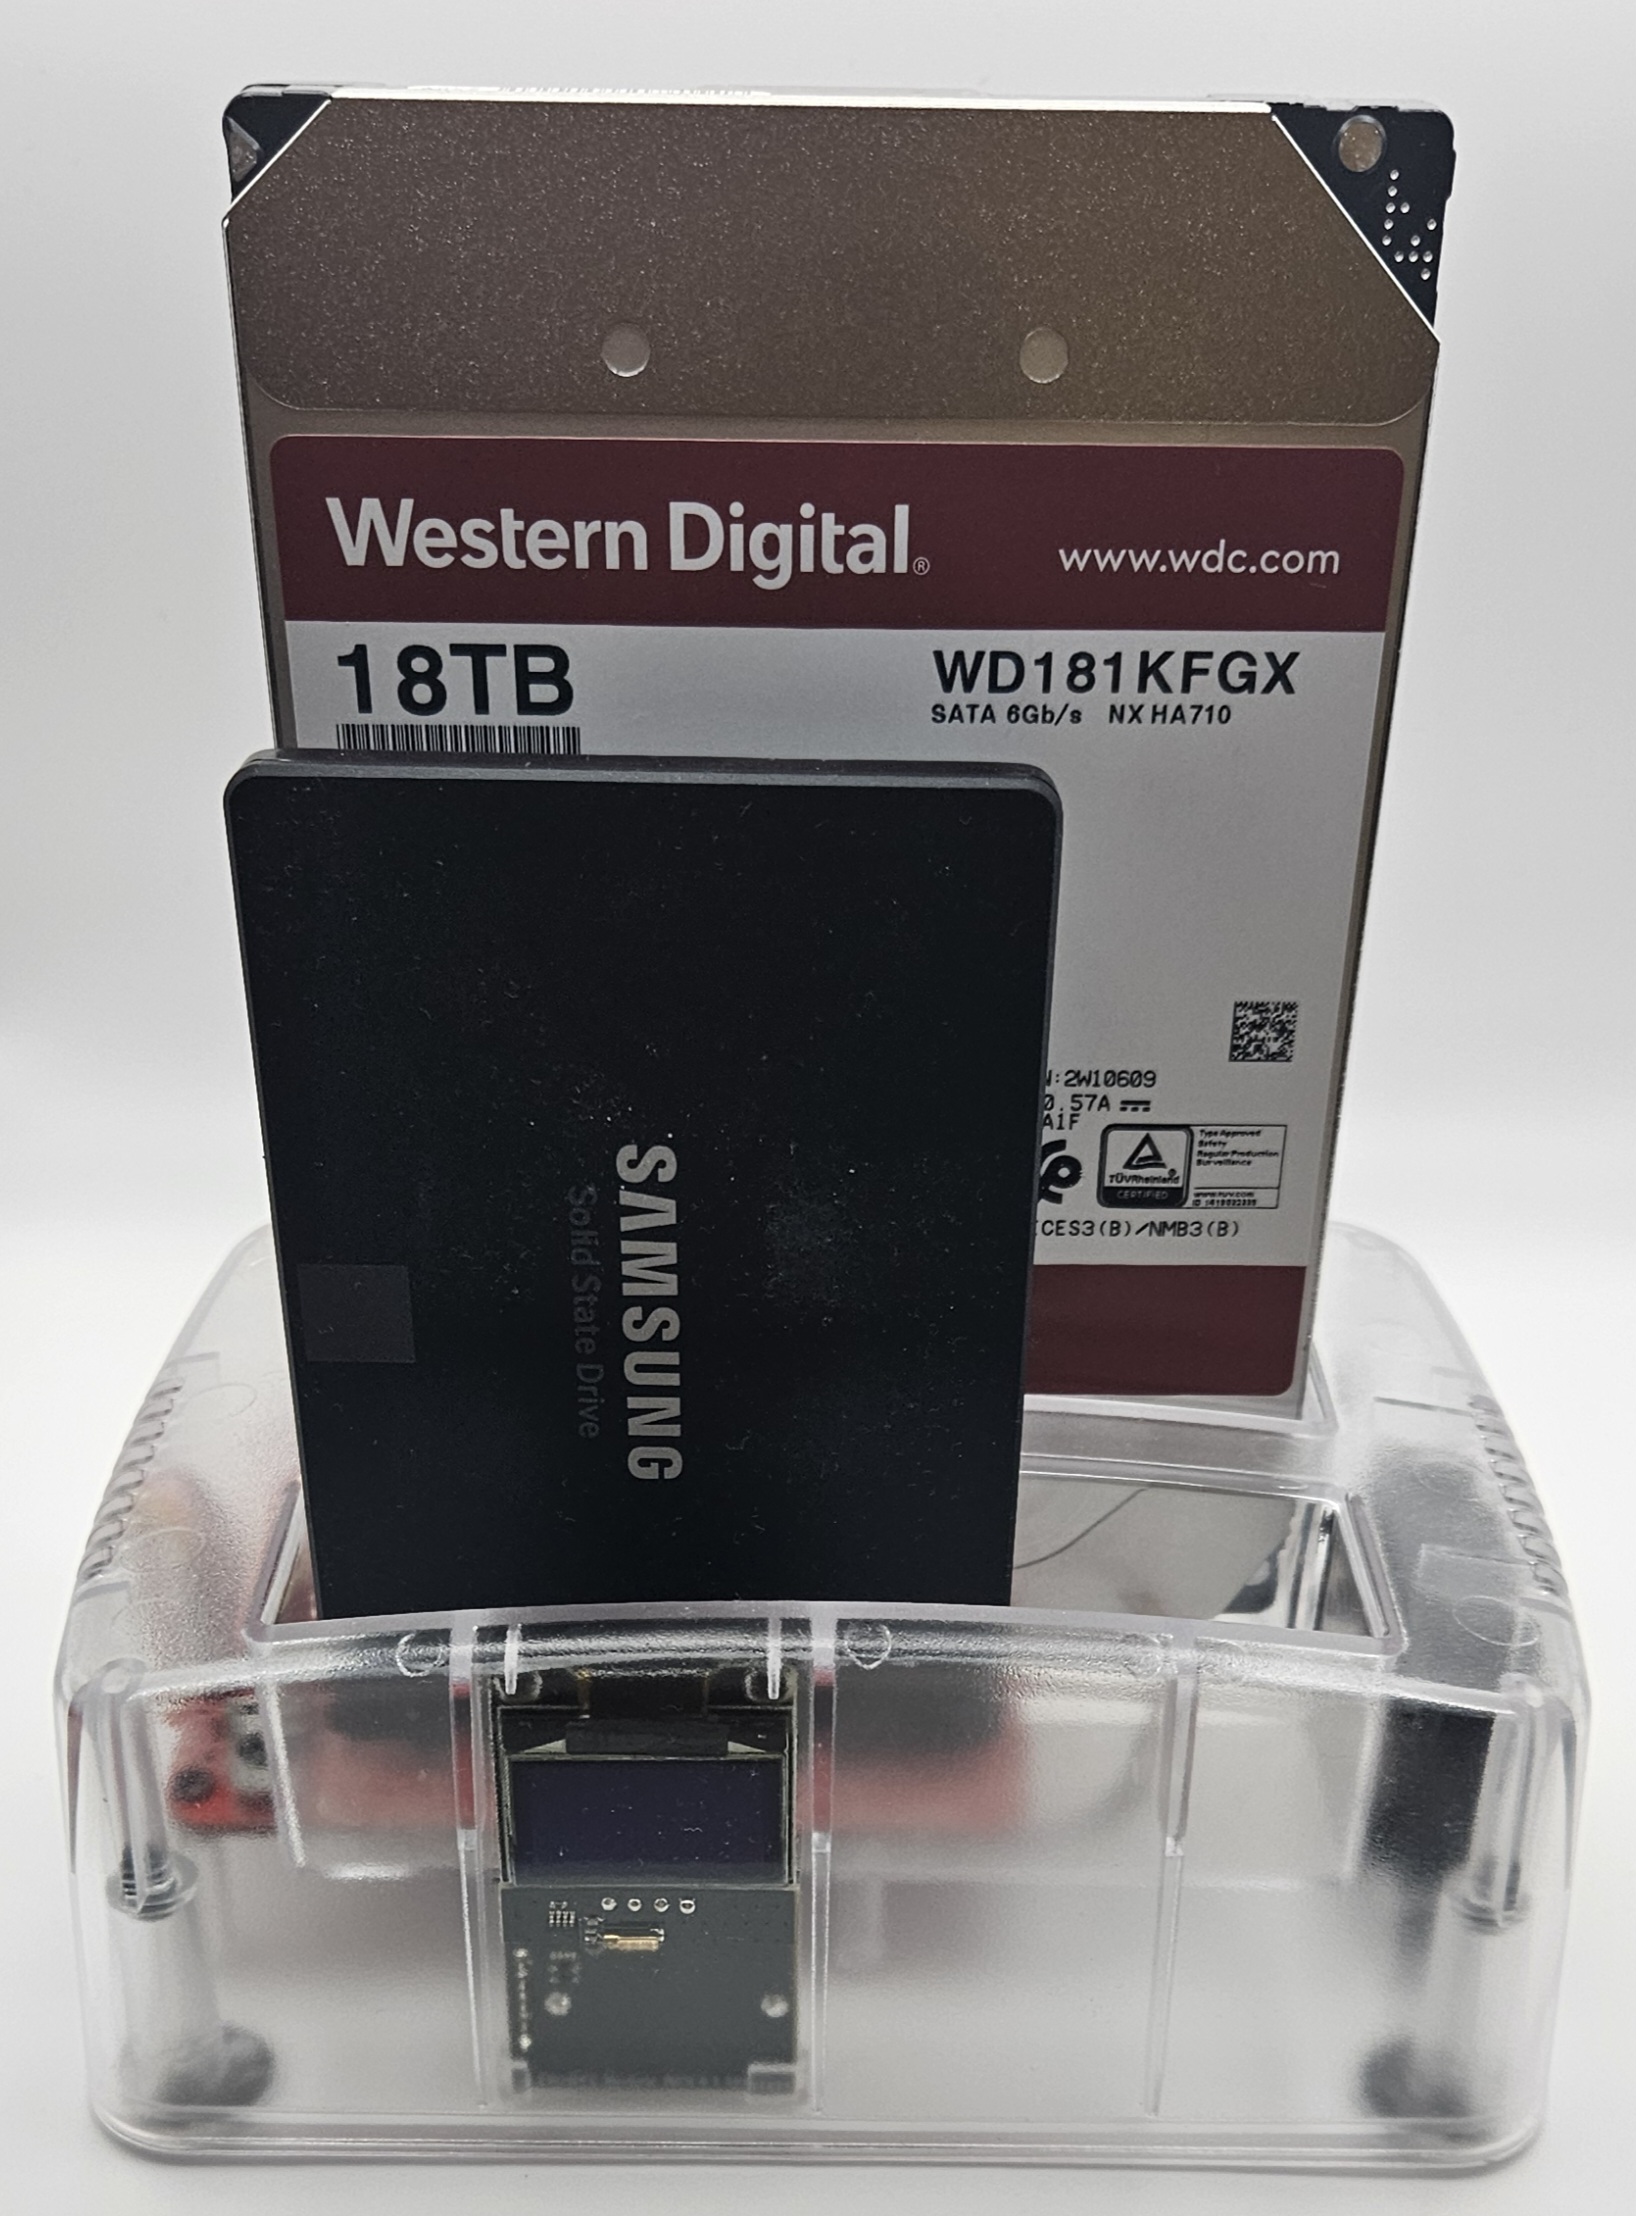
Enter the ODroid-HC4 (I purchased mine from Ameridroid but Hardkernel works with numerous distributors) :

ODroid-HC4 with an SSD and a conventional drive
I ordered this earlier in the year and after many months of procrastinating and obsessing over the best approach to take with its general usage, I finally have it in service as my new NAS. Comparing point by point with the HC2 :
- The gigabit ethernet runs at full speed (though a few things on my network run at 2.5 GbE now, so I guess I’ll always be behind)
- The ARM chip (Amlogic S905X3) has AES cryptography acceleration and handles all the LUKS stuff without breaking a sweat ; “cryptsetup benchmark” reports between 500-600 MBytes/s on all the AES variants
- The USB port is still only USB2, so no improvement there
- 64-bit ARM, which means I can run Minio to simulate block storage in a local dev environment for some larger projects I would like to undertake
- Supports 2 drives, if RAID is your thing
How I Set It Up
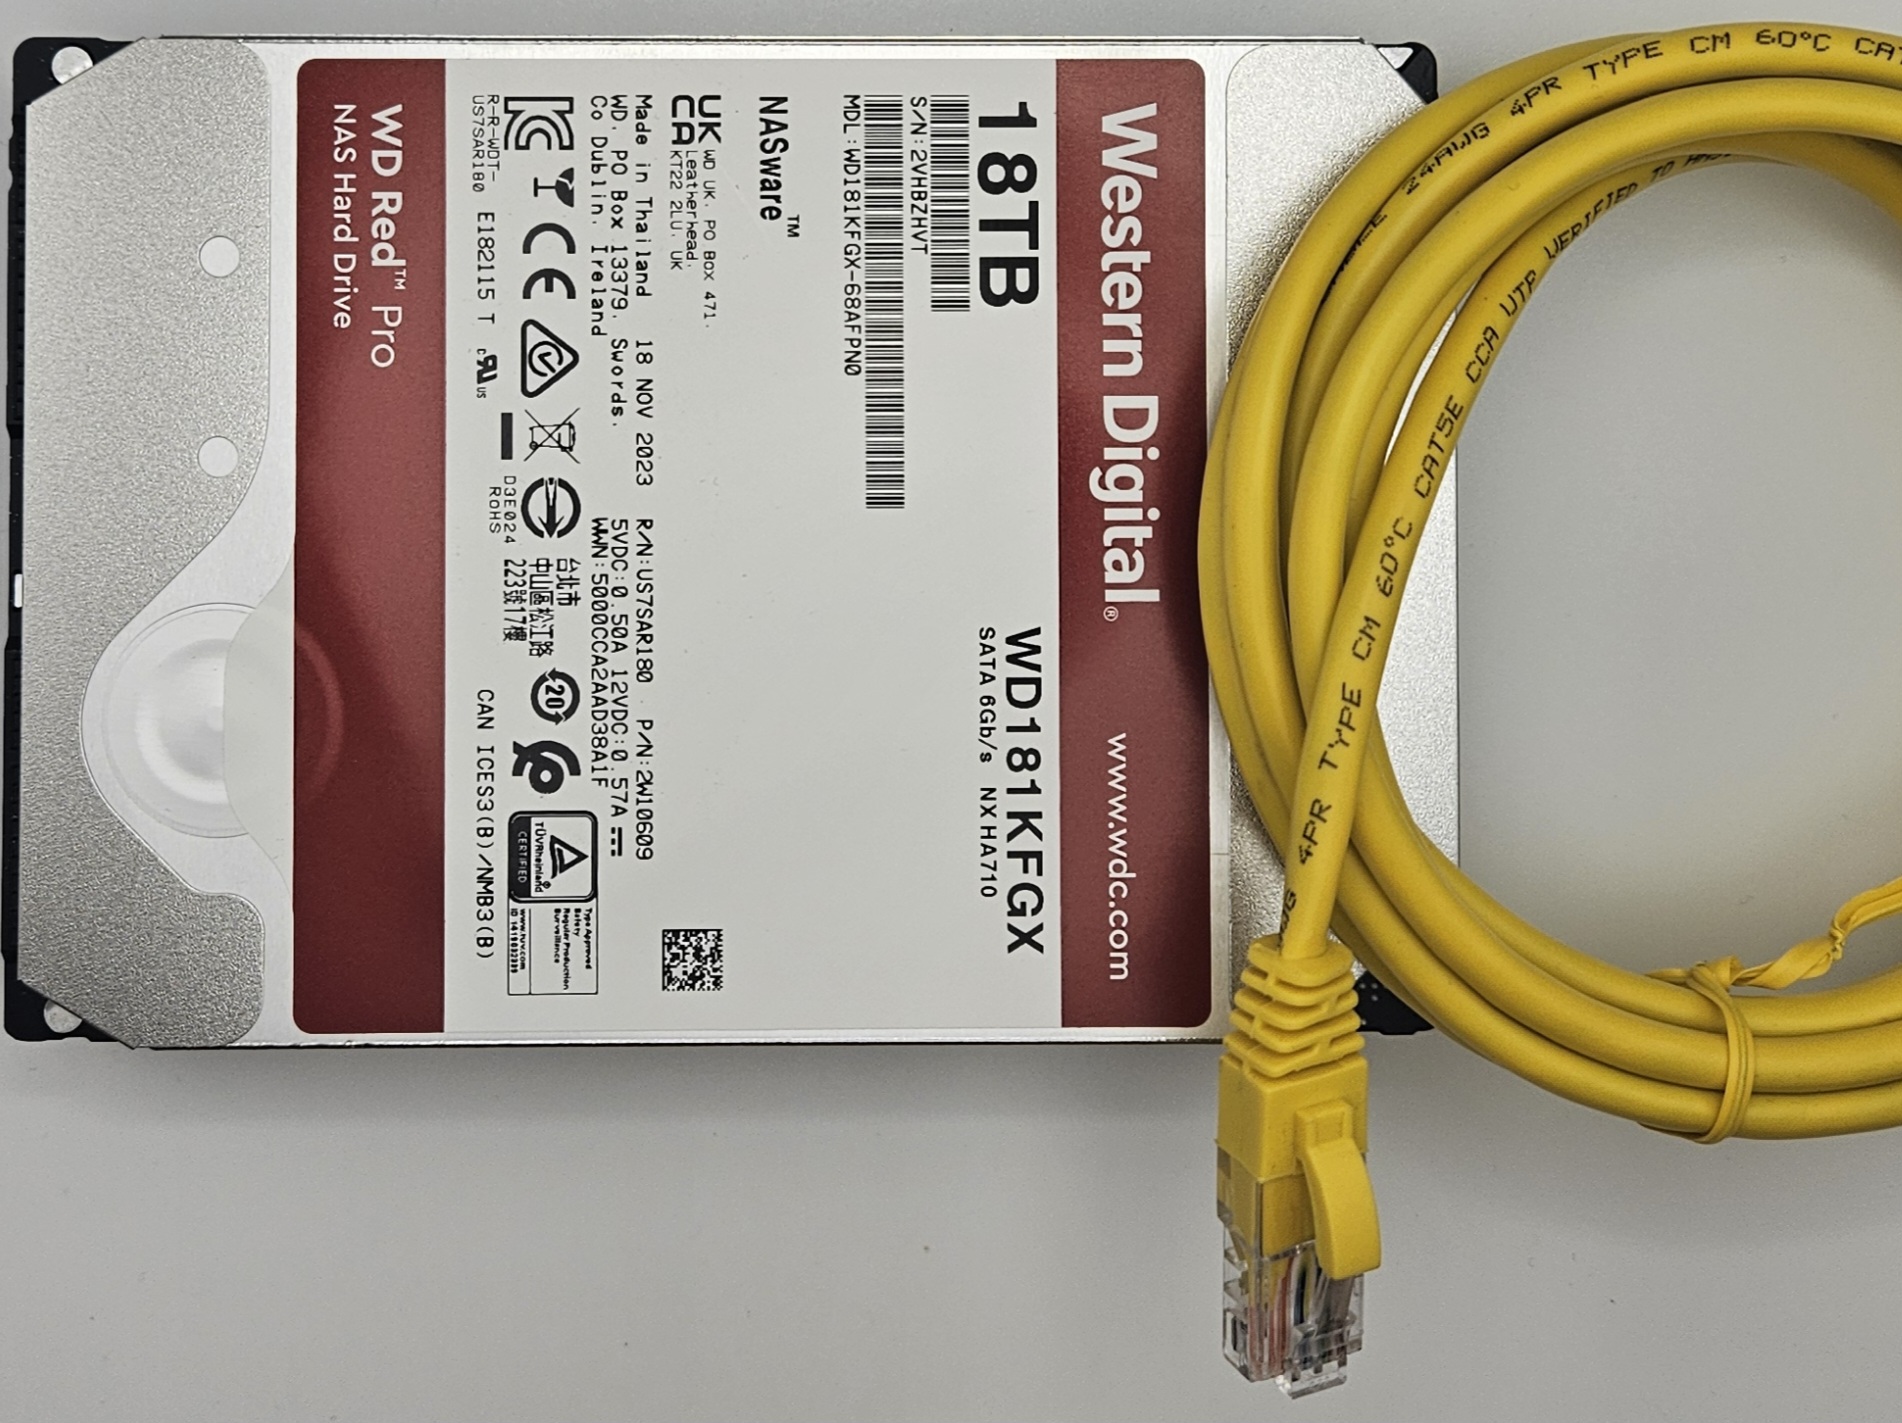
How to set up the drive configuration ? As should be apparent from the photo above, I elected for an SSD (500 GB) for speed, paired with a conventional spinning HDD (18 TB) for sheer capacity. I’m not particularly trusting of RAID. I’ve watched it fail too many times, on systems that I don’t even manage, not to mention that aforementioned RAID brick that I had attached to the Apple AirPort Extreme.I had long been planning to use bcache, the block caching interface for Linux, which can use the SSD as a speedy cache in front of the more capacious disk. There is also LVM cache, which is supposed to achieve something similar. And then I had to evaluate the trade-offs in whether I wanted write-back, write-through, or write-around configurations.
This was all predicated on the assumption that the spinning drive would not be able to saturate the gigabit connection. When I got around to setting up the hardware and trying some basic tests, I found that the conventional HDD had no trouble keeping up with the gigabit data rate, both reading and writing, somewhat obviating the need for SSD acceleration using any elaborate caching mechanisms.
Maybe that’s because I sprung for the WD Red Pro series this time, rather than the Red Plus ? I’m guessing that conventional drives do deteriorate over the years. I’ll find out.
For the operating system, I stuck with my newest favorite Linux distro : DietPi. While HardKernel (parent of ODroid) makes images for the HC units, I had also used DietPi for the HC2 for the past few years, as it tends to stay more up to date.
Then I rsync’d my data from HC2 -> HC4. It was only about 6.5 TB of total data but it took days as this WD Red Plus drive is only capable of reading at around 10 MBytes/s these days. Painful.
For file sharing, I’m pretty sure most normal folks have nice web UIs in their NAS boxes which allow them to easily configure and monitor the shares. I know there are such applications I could set up. But I’ve been doing this so long, I just do a bare bones setup through the terminal. I installed regular Samba and then brought over my smb.conf file from the HC2. 1 by 1, I tested that each of the old shares were activated on the new NAS and deactivated on the old NAS. I also set up a new share for the SSD. I guess that will just serve as a fast I/O scratch space on the NAS.
The conventional drive spins up and down. That’s annoying when I’m actively working on something but manage not to hit the drive for like 5 minutes and then an application blocks while the drive wakes up. I suppose I could set it up so that it is always running. However, I micro-manage this with a custom bash script I wrote a long time ago which logs into the NAS and runs the “date” command every 2 minutes, appending the output to a file. As a bonus, it also prints data rate up/down stats every 5 seconds. The spinning file (“nas-main/zz-keep-spinning/keep-spinning.txt”) has never been cleared and has nearly a quarter million lines. I suppose that implies that it has kept the drive spinning for 1/2 million minutes which works out to around 347 total days. I should compare that against the drive’s SMART stats, if I can remember how. The earliest timestamp in the file is from March 2018, so I know the HC2 NAS has been in service at least that long.
For tasks, vintage cron still does everything I could need. In this case, that means reaching out to websites (like this one) and automatically backing up static files.
I also have to have a special script for starting up. Fortunately, I was able to bring this over from the HC2 and tweak it. The data disks (though not boot disk) are encrypted. Those need to be unlocked and only then is it safe for the Samba and Minio services to start up. So one script does all that heavy lifting in the rare case of a reboot (this is the type of system that’s well worth having on a reliable UPS).
Further Work
I need to figure out how to use the OLED display on the NAS, and how to make it show something more useful than the current time and date, which is what it does in its default configuration with HardKernel’s own Linux distro. With DietPi, it does nothing by default. I’m thinking it should be able to show the percent usage of each of the 2 drives, at a minimum.I also need to establish a more responsible backup regimen. I’m way too lazy about this. Fortunately, I reason that I can keep the original HC2 in service, repurposed to accept backups from the main NAS. Again, I’m sort of micro-managing this since a huge amount of data isn’t worth backing up (remember the whole DataHoarder bit), but the most important stuff will be shipped off.
The post Adventures In NAS first appeared on Breaking Eggs And Making Omelettes.
-
How to Conduct a Customer Journey Analysis (Step-by-Step)
9 mai 2024, par Erin


Try Matomo for Free
21 day free trial. No credit card required.